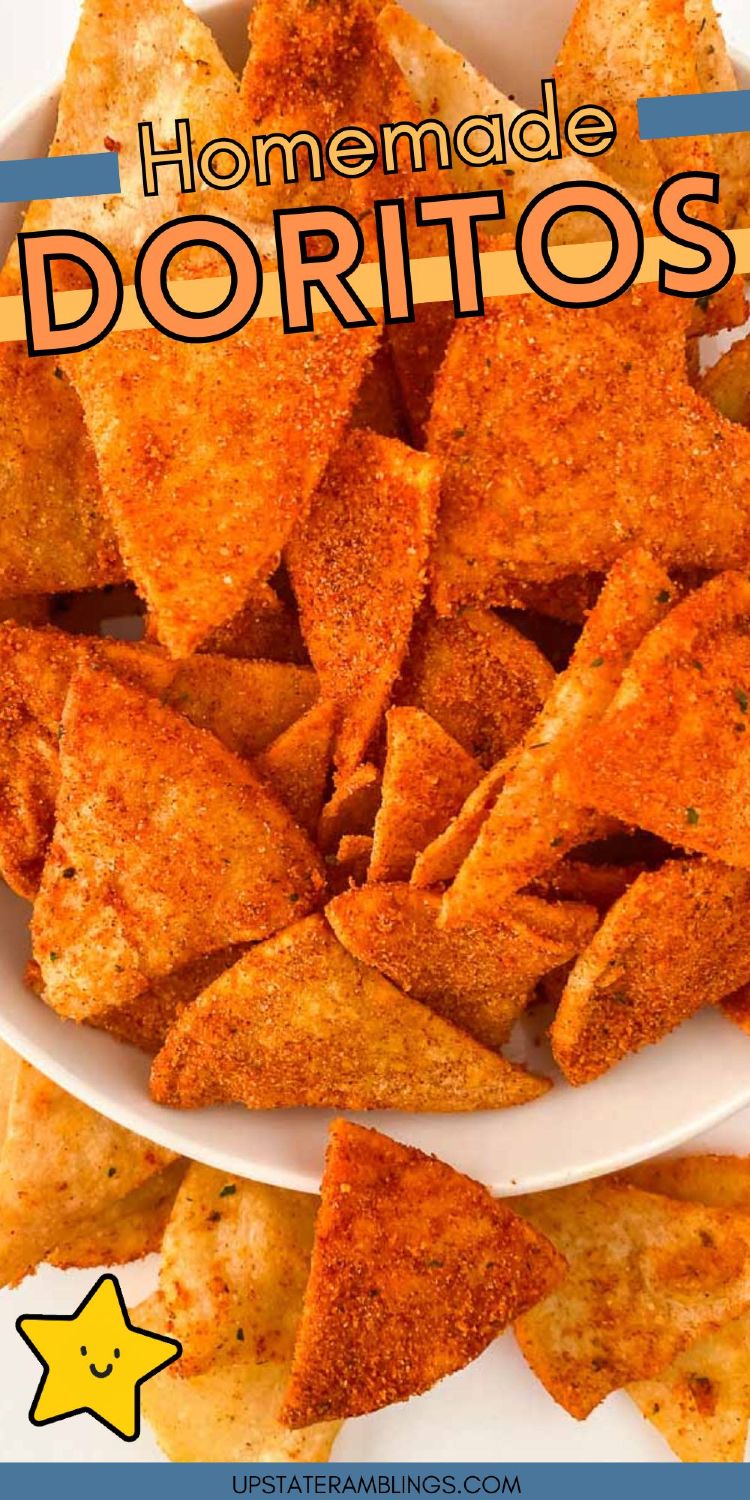
Transform simple tortillas into restaurant-quality chips with precise technique
Understanding the Transformation
Creating exceptional homemade chips isn’t about replicating processed snacks—it’s about understanding how heat, moisture, and seasoning work together to create texture and flavor. Air frying offers a unique advantage: circulated hot air removes moisture while developing crispness without excess oil, resulting in cleaner flavor and better texture control.
The key lies in managing the moisture content of your tortillas, achieving even heat distribution, and timing the seasoning application for maximum adherence and flavor development.
Total Process: 15 minutes | Active Work: 8 minutes
Yield: 4-6 servings | Technique Level: Foundation skills
Core Principle: Controlled dehydration creates superior texture
The Science of Seasoning Adhesion
Building Your Flavor Foundation
- 2 tbsp ranch seasoning powder – Provides complex herb and garlic notes with built-in salt balance
- 1 tbsp smoked paprika – Adds color, mild heat, and distinctive smokiness
- 1 tsp garlic powder – Intensifies savory depth without moisture
- 1 tsp granulated sugar – Balances salt and promotes browning reactions
- 1/2 tsp onion powder – Creates layered allium complexity
- 1/2 tsp salt – Enhances all other flavors and aids in moisture removal
The Tortilla Selection Strategy
- 15 corn or flour tortillas (half a standard package)
Corn vs. Flour Analysis:
- Corn tortillas create crispier, more traditional chip texture with slightly nutty flavor
- Flour tortillas produce softer crunch with more neutral taste and better seasoning absorption

The Methodology
Phase 1: Seasoning Synthesis
Combine all dry seasonings in a bowl, whisking thoroughly to ensure even distribution. The sugar isn’t just sweetness—it helps seasonings adhere and promotes the Maillard reaction that creates appealing golden color.
Test your seasoning blend by tasting a small amount. Adjust salt or sugar based on preference, keeping in mind that flavors intensify during the cooking process.
Phase 2: Precision Cutting
Using a sharp knife or pizza cutter, slice each tortilla into 6-8 uniform triangles. Consistency matters here—uneven pieces cook at different rates, resulting in some chips burning while others remain soft.
Professional Technique: Stack 3-4 tortillas at a time and cut through all layers simultaneously for efficiency while maintaining uniformity.
Phase 3: The Critical Coating Process
Lightly mist tortilla pieces with cooking spray—this isn’t about adding fat, but creating tackiness for seasoning adherence. Use olive oil spray for better flavor, or neutral oil spray for pure chip taste.
Sprinkle seasoning mixture over the tortillas, using your hands to toss and ensure even coverage. The pieces should be lightly dusted, not heavily coated.
Phase 4: Air Fryer Configuration
Preheat your air fryer to 350°F for 3-4 minutes. This preheating step is crucial—it ensures immediate moisture evaporation when chips are added, preventing sogginess.
Arrange tortilla pieces in the air fryer basket in a single layer with minimal overlap. Proper air circulation is essential for even crisping.
Phase 5: The Two-Stage Cooking Process
Cook for 3 minutes at 350°F, then flip each piece individually. This ensures even browning on both sides. Cook for an additional 2 minutes, monitoring closely during the final minute.
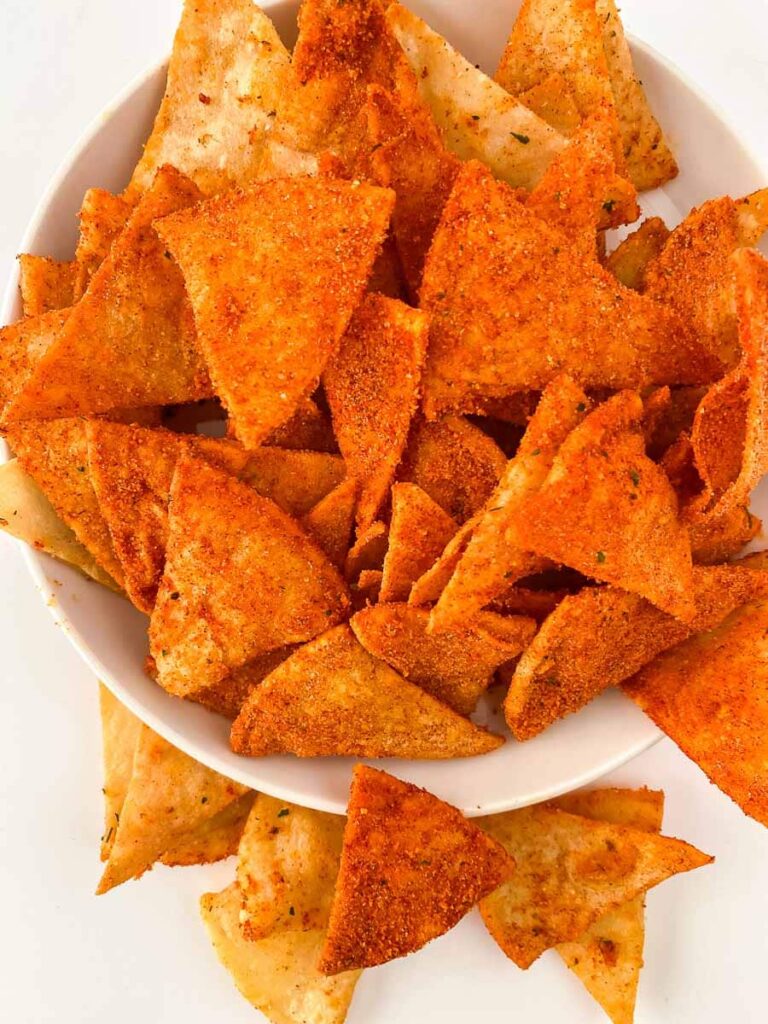
Visual Cues for Doneness:
- Golden brown color with slightly darker edges
- Pieces that feel firm when lightly pressed
- No soft or pliable spots remaining
Phase 6: The Cooling Critical Period
Transfer chips immediately to a wire rack or paper towel-lined plate. This prevents steam buildup that would soften the newly crisped texture. Allow complete cooling before storage—warm chips will create condensation in containers.
Advanced Technique Insights
Managing Batch Cooking
If making multiple batches, keep finished chips in a low oven (200°F) to maintain warmth and crispness while completing subsequent batches.
Seasoning Customization Science
- Heat lovers: Add cayenne pepper gradually—start with 1/4 teaspoon
- Umami boost: Include 1 tablespoon nutritional yeast or parmesan powder
- Mexican-inspired: Substitute chili powder and lime zest for ranch seasoning
- Classic simplicity: Use only salt and a touch of garlic powder
Troubleshooting Common Issues
Soggy chips: Usually caused by insufficient preheating or overcrowding. Ensure proper air circulation and full preheating.
Uneven browning: Typically results from irregular cutting or failing to flip pieces. Maintain uniform thickness and flip systematically.
Bland flavor: Often due to insufficient seasoning adhesion. Increase oil spray slightly or apply seasoning in two lighter applications.
Burnt edges: Air fryer running too hot or pieces cut too thin. Verify temperature with external thermometer and maintain consistent thickness.
Storage and Preservation
Optimal Storage Conditions
Store completely cooled chips in airtight containers at room temperature. Properly made chips maintain crispness for 5-7 days when protected from moisture.
Refreshing Technique
If chips lose crispness, return to air fryer for 1-2 minutes at 300°F. This gentle reheating removes absorbed moisture without burning.
Make-Ahead Strategy
Seasoning blend can be prepared weeks in advance and stored in airtight containers. Cut tortillas can be stored in refrigerator for up to 2 days before cooking.
Nutritional Considerations
Compared to commercial chips, these homemade versions offer:
- Controlled sodium levels – Adjust salt to your preference
- No preservatives – Fresh ingredients only
- Reduced oil content – Minimal spray vs. deep frying
- Customizable ingredients – Accommodate dietary restrictions
Per serving (approximately): 85-95 calories, significantly less than commercial equivalents
Serving Applications
As Foundation for Larger Dishes
These chips excel as bases for nachos, providing sturdy structure that won’t collapse under toppings. Their homemade quality elevates any dish they accompany.
Pairing Strategies
- Fresh salsas – The chips’ mild flavor won’t compete with bright, acidic salsas
- Creamy dips – Ranch, queso, or guacamole all complement the seasoning
- Soups – Crush and use as soup toppers for added texture
Party and Meal Planning
Double or triple the recipe for gatherings. The low oil content means they’re lighter than commercial chips, so guests can enjoy more without feeling overly full.
The Broader Technique Applications
Understanding this process teaches fundamental principles applicable to other air-fried foods:
- Moisture management for crispness
- Seasoning adherence techniques
- Heat circulation optimization
- Timing coordination for multiple batches
These skills transfer to making air-fried vegetables, reheating leftovers, and other air fryer applications.
Quality Benchmarks
Your chips are successful when they demonstrate:
- Audible crunch when bitten
- Even golden color without dark spots
- Well-adhered seasoning that doesn’t dust off
- Structural integrity that supports dips without breaking
- Clean flavor without any soggy or stale notes
Achieving these benchmarks consistently requires attention to each step of the process, but the technique becomes intuitive with practice.
Final Considerations
This recipe represents more than snack preparation—it’s an introduction to controlled cooking techniques that apply across many culinary applications. The principles of moisture management, seasoning application, and heat control are foundational skills that improve all cooking endeavors.
The satisfaction of creating superior homemade versions of commercial products lies not just in better flavor and nutrition, but in understanding the processes that create texture and taste. This knowledge empowers you to modify, adapt, and create rather than simply follow instructions.
Most importantly, these chips offer a healthier approach to snacking without sacrificing satisfaction—proving that mindful ingredient choices and proper technique can deliver both nutrition and pleasure.

